Wet room bathroom design is changing the way homeowners think about modern bathing spaces. Instead of traditional setups with bulky tubs and raised shower trays, wet rooms offer a seamless, fully waterproofed space for showering that maximizes accessibility and style.
Key Takeaways
- Wet room bathroom installation costs vary significantly between the US and UK, with complex prep work and quality materials driving up expenses.
- Waterproofing failures, drainage issues, and maintenance oversights are among the most common challenges post-installation.
- Curbless shower designs look great but require rigorous planning, adherence to regional building codes, and professional installation to avoid long-term problems.
- The core concept of a wet room bathroom
- Step-by-step guide: how to install a wet room bathroom
- Advanced analysis & common pitfalls
- Conclusion
- FAQ
The core concept of a wet room bathroom
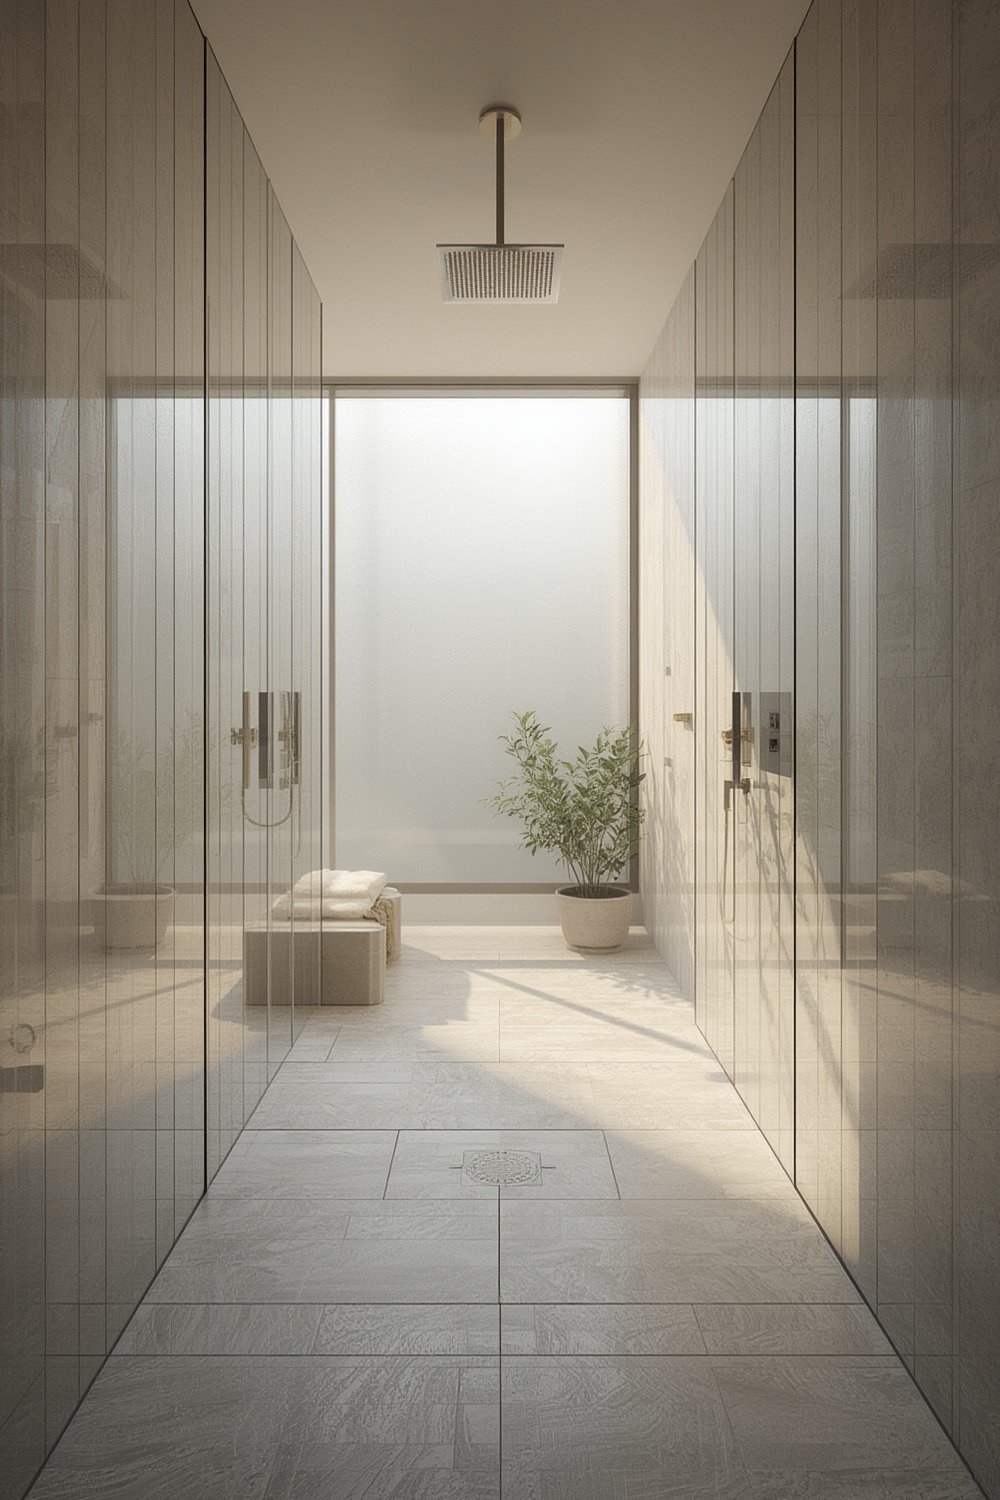
A wet room bathroom is a fully waterproofed space where the shower area blends seamlessly with the rest of the room. The entire floor — and sometimes walls — are tanked (waterproofed) so that splashes, steam, and spills cannot damage the underlying structure. There are no raised trays, and thresholds are either minimal or non-existent, making curbless showers a defining feature of this style.
Wet rooms have surged in popularity in the UK and are gaining traction in the US because they look elegant, make cleaning easier, and offer unmatched accessibility for all ages and abilities. They’re also celebrated for maximizing small bathroom layouts by removing physical barriers and opening up usable space.
Step-by-step guide: how to install a wet room bathroom
Upgrading to a wet room bathroom requires careful preparation, professional skill, and attention to minute details to avoid costly mistakes. Here’s a realistic, actionable step-by-step process:
- Assess the suitability of your current bathroom
Not all bathrooms (especially upper floors and heritage properties) are easily converted. Check that the subfloor is structurally sound and can be effectively waterproofed. Consider plumbing, drainage gradients, and ventilation at this stage. - Plan layout and drainage
Decide on the shower area, toilet, sink location, and drainage strategy. The room must be sloped towards the drain so no water pools. Curbless (level-entry) designs require the right shower tray-formers or sloping screed. - Select waterproofing (tanking) systems
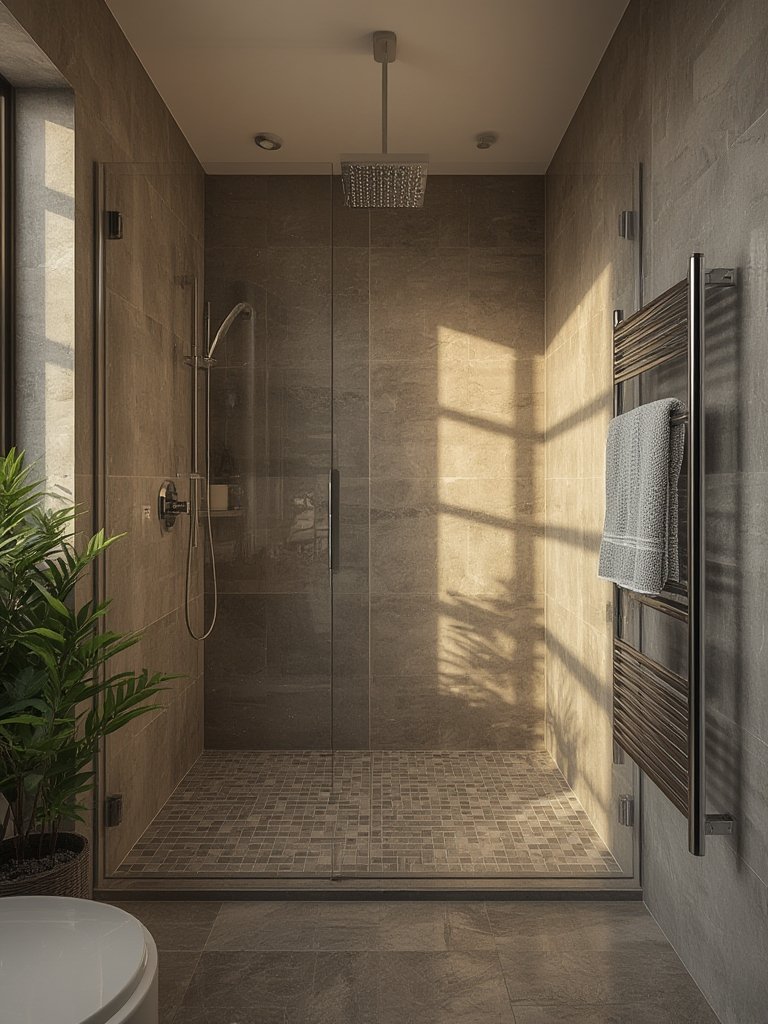
Use a reputable waterproof membrane for both floors and walls, especially in splash zones. Overlap seams, carefully seal corners, and allow ample drying time before tiling — skipping steps here is the #1 cause of wet room failures. - Choose non-slip tiles and robust materials
Wet rooms need floor tiles with high slip-resistance ratings (look for R10 or higher) and grout/fixings that withstand constant moisture. Premium tile options add longevity and comfort, while budget choices may wear faster. - Consider underfloor heating (optional)
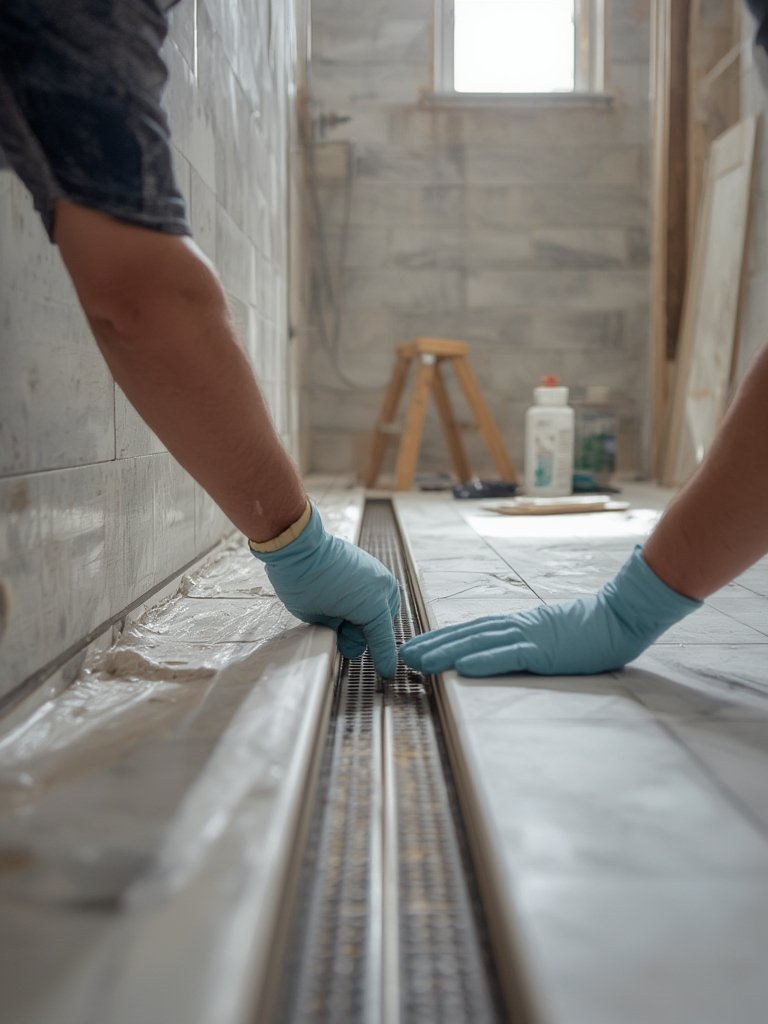
Wet rooms dry faster and feel more luxurious with electric or hydronic underfloor heating. This option adds to cost and complexity but is popular for a reason. - Install drainage and prepare plumbing
Make sure the floor is properly sloped towards the drain. Raised or wall drains cost more but can be easier to maintain. Plumbing and waste pipes must be checked for capacity before closing up. - Tiling and finishing
Only after the tanking system is fully cured, install your chosen tiles. Use waterproof grout and silicone sealants at all joints and corners. Ensure tile edges and floor transitions are smooth for accessibility. - Final checks
Test drainage by running the shower for several minutes. Check for leaks, pooling, or excessive splash-out. Clean up and enjoy your new space.
Looking to upgrade your shower hardware as part of your wet room project? Check out the FEELSO filtered shower head with handheld Best in 2026 for a healthier, more luxurious bathing experience.
Advanced analysis & common pitfalls
Despite their sleek appearance, wet room bathrooms come with hidden challenges and unexpected costs. Below is an at-a-glance comparison of average costs and issues by region:
| Factor | UK Wet Room Install | US Wet Room/Bathroom Remodel |
|---|---|---|
| Average Cost | £4,000–£12,000 (premium up to £15,000) | $8,800–$25,000 (walk-in shower: $470–$1,260) |
| Key Cost Drivers | Waterproofing, drainage, tiling, bespoke elements, labor | Room size, complexity, local rates, tile/fixture upgrades |
| Common Pitfalls | Improper tanking, pooling from poor drainage, slippery surfaces, grout failure | Leaks from poor prep, local code non-compliance, insufficient ventilation |
| Maintenance Issues | Grout discoloration, tile movement, blocked drains | Mold/mildew, cracked tiles, pooling issues |
Commonly Overlooked Issues:
- Maintenance protocols: Many homeowners assume wet rooms are “install and forget.” In reality, regular drain cleaning and grout inspection are essential, especially in hard water areas.
- Long-term waterproofing: Even with perfect initial tanking, settling, or floor movement can lead to leaks over time. Annual joint inspections and timely resealing can prevent major repairs.
- Building code variances: Requirements differ by region and property type. US standards (ADA, local plumbing codes) may be stricter than in the UK for curbless access, slope, and ventilation. Always verify before starting.
Proper attention will avoid costly remediation—and insurance headaches—later.
For more information on UK cost breakdowns and what drives wet room pricing, visit Checkatrade’s 2024 wet room installation cost guide or compare with current US bathroom remodel guides such as this detailed US-UK cost comparison.
If you want added protection from leaks in kitchen or bathroom cabinets, a waterproof mat like the Winisok Silicone Under Sink Mat 34″ x 22″ is a smart, low-cost upgrade.
Conclusion
Wet room bathrooms blend style, accessibility, and efficient use of space — but only if you get the technical details right from the start. Don’t underestimate the importance of professional waterproofing, drainage planning, and ongoing maintenance. With robust preparation, careful material selection, and adherence to local building codes, your wet room bathroom can deliver years of reliable, low-fuss performance.
Ready to take your next step? Start planning your wet room bathroom today with a skilled contractor to ensure peace of mind and excellent results. For more home upgrades and smart solutions, explore our detailed home improvement product reviews.
FAQ
How much does a wet room bathroom cost in 2024?
In the UK, installation costs typically range from £4,000 to £12,000 for a standard wet room bathroom, with luxury projects reaching £15,000. US remodel costs vary more widely ($8,800–$25,000), with curbless walk-in shower elements extra. Source.
What are the most common problems after installing a wet room?
Top issues include leaks due to improper waterproofing, drainage slopes that let water pool, slippery floors from incorrect tiles, blocked drains, and grout or sealant deterioration. Most can be prevented with proper installation and regular checks.
Do I need special tiles for a wet room bathroom?
Yes. Non-slip (R10 or higher) floor tiles are essential to prevent falls, and all grout and adhesives must be waterproof. Premium porcelain or natural stone tiles are popular, but always check slip-resistance ratings.
How long does a wet room project take from start to finish?
For a full wet room bathroom, expect a minimum of 7–14 days for professional installation. This covers site prep, waterproofing, drying times, tiling, and final fitting. Simple walk-in shower upgrades can take as little as 4–6 hours.
Are wet rooms easy to clean and maintain?
They are easier than most traditional bathrooms but need periodic attention. Wipe walls and floors to remove soap scum, inspect grout for cracks or discoloration, and clear drains regularly to prevent buildup or odors.