
Permeable paver patio installations are rapidly changing how homeowners and cities manage stormwater, curb local flooding, and cool urban outdoor spaces. If you want an eco-friendly, functional patio or driveway that solves drainage problems and looks stunning, here is what you need to know in 2024.
Key Takeaways
- Permeable paver patios reduce stormwater runoff by up to 75% and help cut local flooding risks.
- Routine maintenance is essential to avoid clogging and performance drop-offs over time.
- Installation quality, compatible materials, and understanding code requirements are critical for long-term success.
- Permeable paver patios: what they are and why they matter
- How to build a permeable paver patio: step-by-step guide
- Advanced analysis and common pitfalls
- Conclusion
- Frequently asked questions
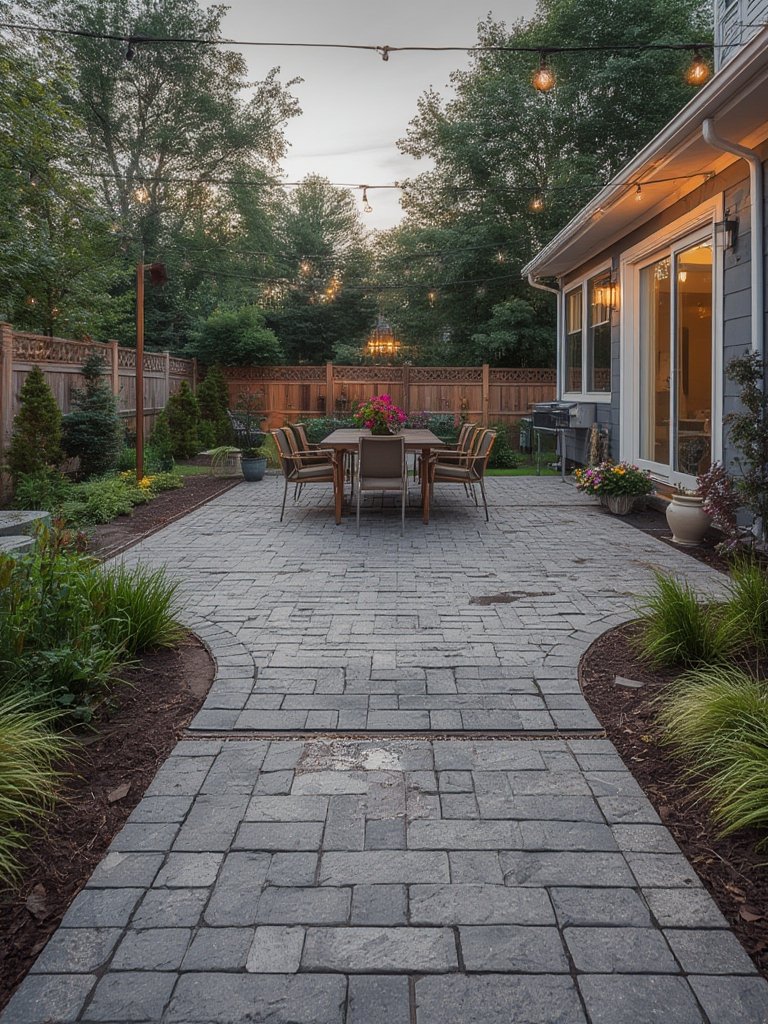
Permeable paver patios: what they are and why they matter
A permeable paver patio swaps out impervious concrete or asphalt for a layered system of pavers separated by gravel-filled joints. Below the surface, graded stone layers act as a reservoir, letting water infiltrate slowly into the soil below. This design helps manage stormwater by reducing runoff by up to 75% compared to traditional paving, which can runoff over 90% of rainfall. Permeable systems also help cut peak flows, reduce local flooding risks, and even help lower urban temperatures by promoting evaporation and cooling (Intel Market Research, PMC).
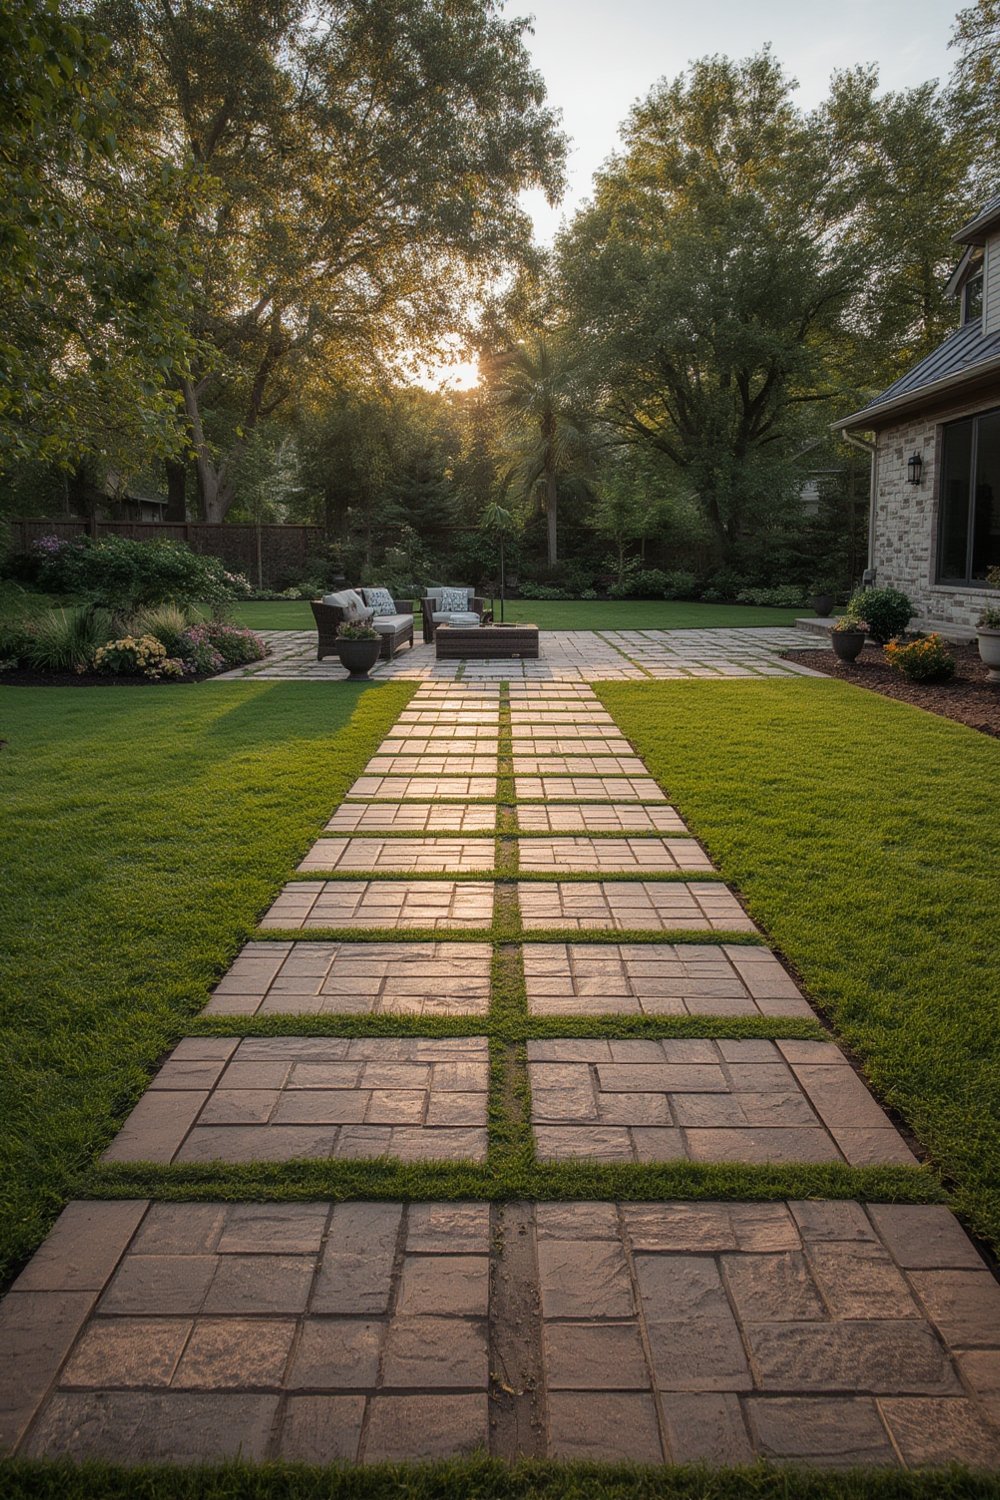
As cities grow and climate uncertainty increases, permeable patios are quickly becoming a best practice for urban landscapes, driveways, and backyards. They are not just functional — with the right design, they dramatically improve curb appeal and property value.
How to build a permeable paver patio: step-by-step guide
Creating a high-performing permeable paver patio is within reach for determined DIYers or pros. Below is a clear step-by-step process that prioritizes water infiltration, durability, and aesthetics.
- Plan Your Patio Layout
Determine the size, shape, and slope. Verify the area is suitable — a slope between 1% and 5% is ideal. Mark utilities before digging. - Check Local Codes & HOA Rules
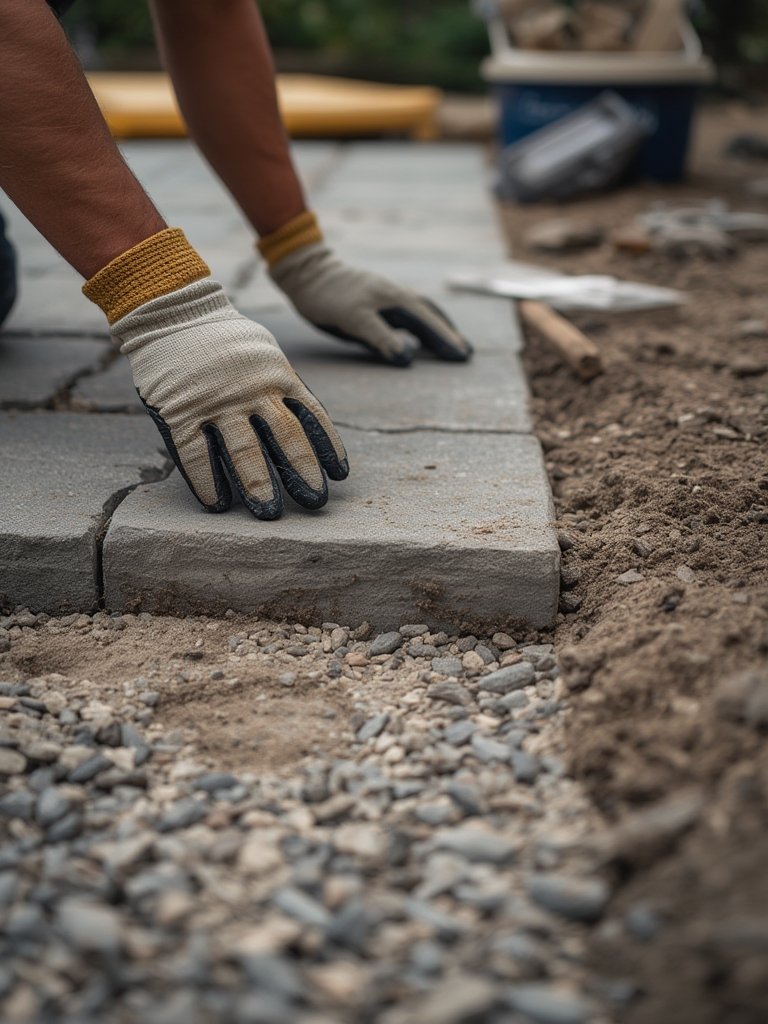
Some municipalities restrict or have specific requirements for permeable surfaces. Confirm setbacks, allowed materials, and sub-base depths before ordering materials. - Excavation
Excavate 12-24 inches below finish grade (for patios with average loads). Depth depends on soil infiltration rates and anticipated traffic. - Install edge restraints
Use flexible or rigid edge restraints to keep pavers in place over time. - Lay the Stone Sub-Base
Place a clean, crushed angular stone reservoir (often ASTM No. 2 — about 2 inches diameter) 8-18 inches thick to temporarily store infiltrating water. - Add a Choking Layer
Add a 2-inch thick layer of smaller angular aggregate (e.g., ASTM No. 57, about 1 inch) to create a smooth surface for pavers. - Level the Bedding Layer
Use 1-2 inches of smaller aggregate (ASTM No. 8 or No. 9) as the bedding beneath pavers (substitute for sand in traditional patios). - Install Permeable Pavers
Lay pavers with consistent, intentionally spaced joints (usually 1/4 to 1/2 inch apart). Patterns can vary — herringbone, running bond, basketweave, etc. - Fill Joints With clean gravel
Sweep washed aggregate (typically 1/8 to 3/16 inch size) into the joints. Avoid using sand, as it can clog the system. - Compact and Final Check
Compact pavers with a plate compactor fitted with a rubber mat. Check that joints are filled and site drains properly.
Regular maintenance is non-negotiable. Use a leaf blower, shop vac, or broom to clear debris monthly. Refill joint gravel as needed, especially after heavy rains or after winter. For patios near trees or messy plantings (see our garden clippers review for smart pruning), keep overhanging branches trimmed to reduce blockages.
Before planning, consider adding eco-friendly lighting (solar garden pathway lights work well and have quick installation tips). Protect patio furniture from elements with a heavy duty table cover for longer-lasting outdoor setup.
Advanced analysis and common pitfalls
No system is perfect. Here’s what the research and real-world experience reveal about installing and maintaining a permeable paver patio:
- Clogging: Frequent leaf litter, fine sediment, and neglect can clog surface joints, drastically lowering infiltration. No recurring reports of homeowners facing this in forums, but research urges vigilance (PMC Study).
- Maintenance Burden: Top-ranking sites gloss over the need for semi-annual vacuuming and inspecting of joint fill, but this step is critical for longevity.
- Code Compliance: Building codes or local stormwater guidelines may dictate base thickness, setbacks, or infiltration rates. Failing to check or get a permit can result in costly rework.
- Long-Term Durability: The research does not provide concrete durability data for permeable patios versus traditional concrete, but some types and installations may experience joint erosion, shifting, or deformation under high, repeated loads.
- Lack of 2024 Cost Data: Reliable, up-to-date installation or material cost comparisons for permeable versus traditional paving are missing. Regional pricing still fluctuates, often running higher upfront for permeable systems.
| Feature | Permeable Paver Patio | Traditional Paver Patio |
|---|---|---|
| Stormwater Runoff | 75% reduction (source) | ~90% runoff |
| Flood Risk Reduction | High | Low |
| Urban Heat Mitigation | Yes, through cooling & evaporation | No |
| Maintenance | Regular debris removal & gravel refill | Sweeping only |
| Durability Metrics | Not fully established (2024) | Long-term data available |
| Upfront Cost | Typically higher* | Lower |
*Actual prices vary by region. For long-term value, include rebates, maintenance, and extended lifespan (when information becomes available).
Conclusion
A permeable paver patio can transform your landscape, manage stormwater, and improve year-round usability. To succeed, prioritize regular maintenance, confirm local code compliance, and keep expectations realistic. While some advanced durability data and region-specific cost info are still emerging, the benefits for most homeowners are clear. Ready to take action? Assess your site, consult a local pro if needed, and consider building your own permeable paver patio for a smarter, greener, and more future-friendly landscape.
Frequently asked questions
How often should I clean and maintain my permeable paver patio?
Perform debris removal at least monthly and refill joint gravel as needed. Plan for a deeper cleaning and inspection (with vacuuming) every year to avoid clogging and preserve infiltration performance.
Can I install a permeable paver patio myself?
Yes, handy DIYers can take this on with proper planning and attention to detail. Follow the outlined steps, pay attention to slope, drainage, and never skip the necessary stone sublayers or edge restraints. If unsure, consult with an experienced permeable paver installer.
How does a permeable paver patio compare to rain gardens for stormwater?
Both reduce runoff. A permeable paver patio is ideal for flat, functional surfaces like patios or driveways. A rain garden channels and absorbs runoff in a planted basin, while permeable patios infiltrate rainfall directly where it lands.
Are there rebates or incentives for installing permeable pavers?
Many cities and counties offer rebates, tax reductions, or stormwater utility fee discounts for permeable paving. Requirements vary by region, so check with your local government or utility for current details.
What tools should I have on hand for maintenance?
A leaf blower, sturdy broom, and a shop vacuum with a wide nozzle help keep joints clear. Basic gardening hand tools like those in a durable 9-piece tool set come in handy for detailed cleaning near landscaping.