Table of Contents
Why Your Solar Garden Pathway Lights Keep Failing (And How to Fix It!)
Have you ever installed beautiful solar garden pathway lights only to find them dark, dim, or dead just a few nights later? You’re not alone! Many homeowners think “solar” means “set it and forget it,” but a few small oversights can turn your dreamy nighttime walkway into a frustrating disappointment. Good news: with a little know-how, you can make your solar garden pathway lights shine bright all season long. In this guide, we’ll walk you through the 5 most common mistakes-and how to avoid them-so your yard glows with charm, safety, and zero electricity bills!
Why getting it right matters (and It’s easier than you think!)
Think of solar garden pathway lights like little sun-powered robots. During the day, they soak up sunshine. At night, they light your way-automatically! When placed and chosen correctly, they’re eco-friendly, cost nothing to run, and add instant magic to your yard. But if you skip a few key steps, they might barely flicker.
- Time needed: Just 30–60 minutes for setup!
- Difficulty level: Super easy-no wiring, no tools (usually), and totally beginner-friendly.
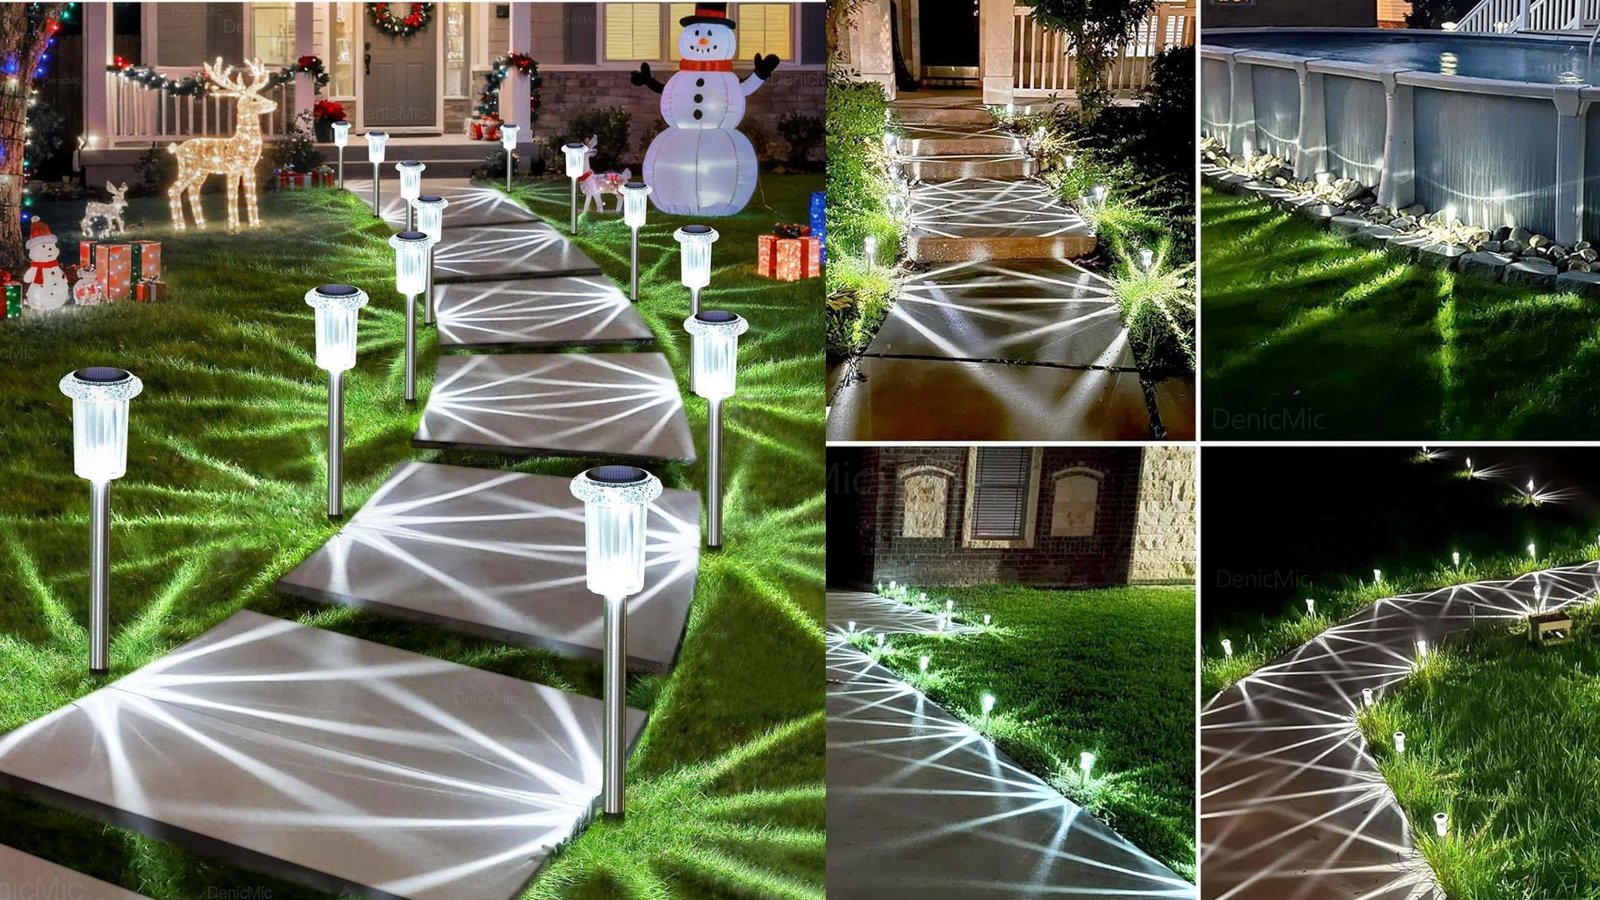
What makes a great solar garden pathway light?
Every quality solar garden pathway light includes five key parts:
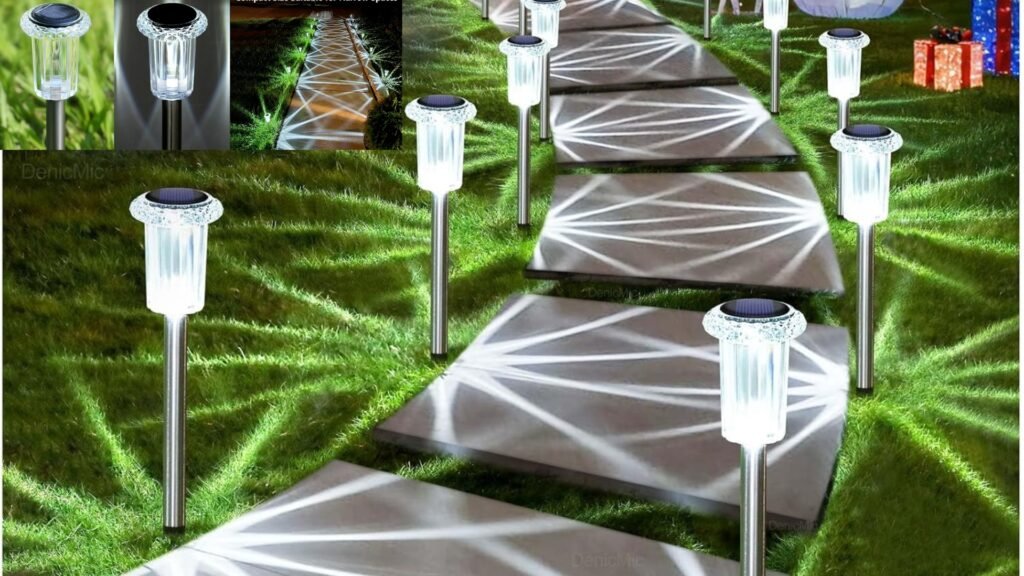
- Solar panel: Captures sunlight and converts it to power.
- Rechargeable battery: Stores energy for nighttime use.
- LED bulb: Bright, efficient, and long-lasting.
- Weather-resistant body: Should withstand rain, snow, and heat (look for IP65 rating or higher).
- Photoresistor: Automatically turns the light on at dusk and off at dawn.
If your lights aren’t working well, it’s rarely a defect-it’s usually one of the mistakes below!
Mistake 1: Placing lights in the shade
Solar lights need 6–8 hours of direct sunlight daily to charge fully. Tucking them under trees, near fences, or under roof overhangs blocks the sun.
✅ Fix it:
- Observe your yard throughout the day.
- Choose open, south-facing spots (in the northern hemisphere).
- Avoid areas blocked by shrubs, eaves, or structures.
Mistake 2: Ignoring the solar panel angle
Dust, debris, or poor panel orientation can drastically reduce charging efficiency.
1• Fix it:
- Wipe panels clean every few weeks with a damp cloth.
- Choose models with angled or adjustable panels if your yard gets low-angle sun.
- Keep leaves, snow, and bird droppings off the surface.
Mistake 3: Spacing Lights Too Close-or Too Far Apart
Crowding lights causes glare and uneven lighting. Spacing them too far creates unsafe shadows.
2• Fix it:
- Place lights 6 to 8 feet apart for soft, even glow.
- On wide paths, use staggered lighting on both sides.
- Use your stride (2–3 big steps) as a quick measuring tool.
Mistake 4: Choosing the Wrong Type of Light
Decorative solar lanterns often lack the brightness needed for safe pathway lighting.
3• Fix it:
- Look for “pathway” or “walkway” in the product name.
- Choose lights with 10–30 lumens output for functional illumination.
- Pick durable materials like aluminum, stainless steel, or UV-resistant plastic.
Mistake 5: Skipping the first-day charge
New solar lights ship with empty batteries. Installing them right away means they won’t turn on that night.
4• Fix it:
- Lay lights in direct sun for 1–2 full days before installing.
- Check for an on/off switch—turn it on!
- Avoid setup on cloudy days; wait for sunshine.
How to install your solar garden pathway lights (the right way!)
- Walk your path and note key spots (steps, curves, entrances).
- Mark sunny areas using chalk or sticks.
- Pre-charge lights in full sun for 48 hours.
- Space evenly : 6 to 8 feet apart.
- Push stakes in firmly, but not too deep for easy winter removal.
- Test at dusk-if a light is dim, move it to a sunnier spot.
Pro tip: Place lights about 6 inches back from the path edge to avoid foot traffic and mower damage.
Storing & Maintaining your lights
- Winter care: In snowy areas, store lights indoors to protect batteries.
- Battery life: Replace rechargeable batteries every 1–2 years.
- Cleaning: Rinse solar panels monthly; use mild soap if needed.
The best part? Once set up, they work automatically-no switches, cords, or bills!
Creative variations to try
- Mix heights: Short stakes for paths, taller ones for garden beds.
- Warm vs. cool light: Warm white (2700K–3000K) for cozy vibes; cool white (4000K) for safety.
- Add accents: Pair with solar spotlights to highlight trees or statues.
- Seasonal flair: Use themed lights (pumpkins, snowflakes) for holidays.
Final thoughts: your yard deserves to shine
Solar garden pathway lights are one of the simplest, most satisfying upgrades for any outdoor space. They boost safety, add beauty, and cost nothing to run-all while helping the planet. By avoiding these five common mistakes, you’ll enjoy reliable, glowing pathways night after night. So go ahead: pick your sunniest spots, install with confidence, and let your garden sparkle after dark!
Now grab your solar garden pathway lights, give them the care they need, and watch your yard transform into a welcoming, luminous retreat-all powered by the sun.